Soil Testing 101: A Beginner's Guide to Understanding Your Garden's Health
Soil testing isn't just for lawn care professionals anymore! Whether you're a seasoned gardener or just starting out, understanding your soil's unique profile is the key to unlocking a vibrant and productive garden. Think of it as giving your plants a health checkup.
What is Soil Testing?
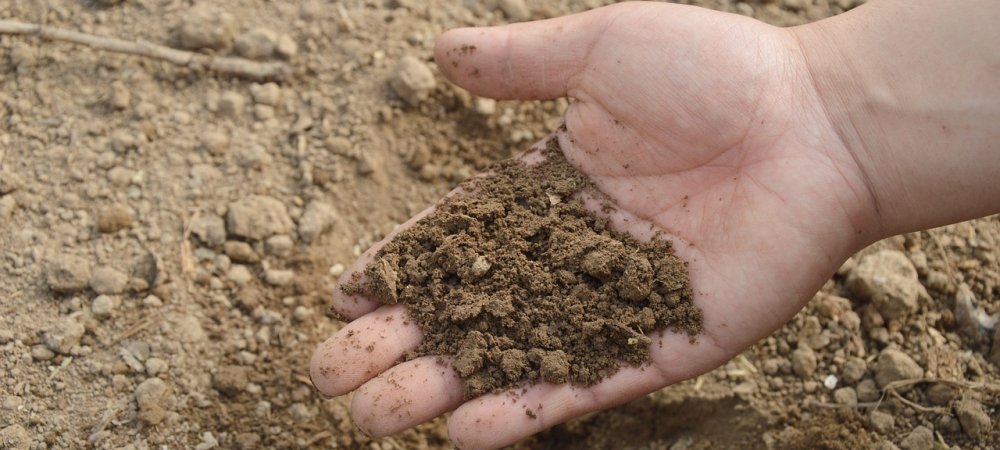
Soil testing is a scientific analysis that delves deep into your garden's foundation, revealing its chemical, physical, and biological properties. While often used by lawn care experts to cultivate lush green grass, soil testing offers a wealth of benefits for all types of gardens.
Why Test Your Soil?
- Uncover Nutrient Deficiencies: Your soil may be lacking essential nutrients like nitrogen, phosphorus, or potassium, which are crucial for plant growth. Soil testing identifies these deficiencies so you can provide the right amendments.
- Optimize pH Levels: Soil pH (acidity or alkalinity) significantly impacts nutrient availability. A simple pH test helps you adjust your soil to the ideal range for your specific plants.
- Diagnose Problems: Yellowing leaves, stunted growth, or poor flowering? Soil testing can pinpoint the root causes, whether it's nutrient imbalances, pH issues, or other factors.
- Save Money and Resources: By knowing exactly what your soil needs, you can avoid over-fertilizing or using unnecessary amendments, saving you money and protecting the environment.
What to Expect from a Soil Test:
- Nutrient Levels: Get detailed information on the major nutrients (nitrogen, phosphorus, potassium) as well as micronutrients (calcium, magnesium, etc.).
- pH Reading: Discover your soil's pH level and learn how to adjust it for optimal plant health.
- Organic Matter Content: Understand the percentage of organic matter in your soil, which is crucial for soil structure, water retention, and nutrient availability.
- Recommendations: Most soil tests provide specific recommendations for amendments, fertilizers, and other practices tailored to your soil's unique needs.
Ready to Take the Next Step?
Remember that DIY soil pH testing kits can provide a general idea of your soil's pH, but they might not be as accurate as professional laboratory tests. Consider hiring a Chesapeake lawn care company if you need precise pH information for specific crops or plants.
Professional Soil Testing in Virginia
ALM offers professional soil tests at the start of all our lawn care services to ensure we provide the best treatment for your lawn. Not all soil is the same, and we shouldn't treat it as such! If you're looking for soil testing and lawn care in Virginia, call us for a free estimate today.